
FIGURE 1
(1)
passes the ball to (2), then cuts to the corner.
(2)
receives a pass from (1) and looks inside for
either (4) or (5).
(3)
holds position.
(4)
flashes in the high post area.
(5)
posts up.
|
|
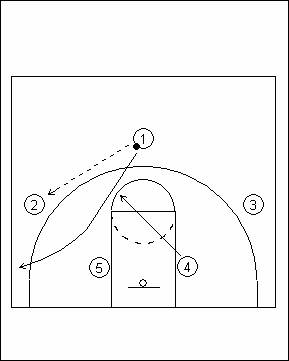
FIGURE 2
(1)
moves to the wing to replace (2).
(2)
dribbles to the point using (4)’s screen.
(3)
holds position.
(4)
screens for (2).
(5)
posts up.
|
|
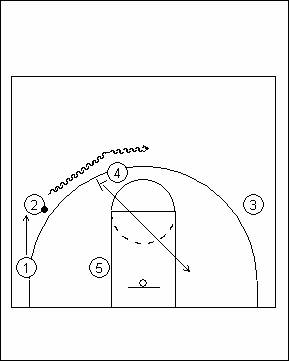
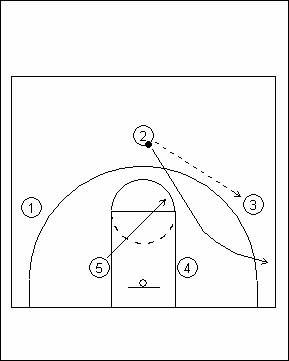
FIGURE 3
(1)
holds position.
(2)
passes the ball to (3), then cuts to the corner.
(3)
receives a pass from (2) and looks inside for
either (4) or (5).
(4)
posts up.
(5)
flashes in the high post area.
|
|
|
|
|
|
|
|
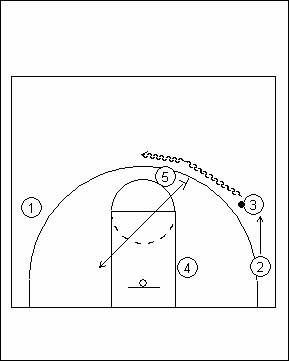
FIGURE 4
…AND IT CONTINUES UNTIL A GOOD
SCORING OPPORTUNITY OCCURS…
|
|
|
 |
|